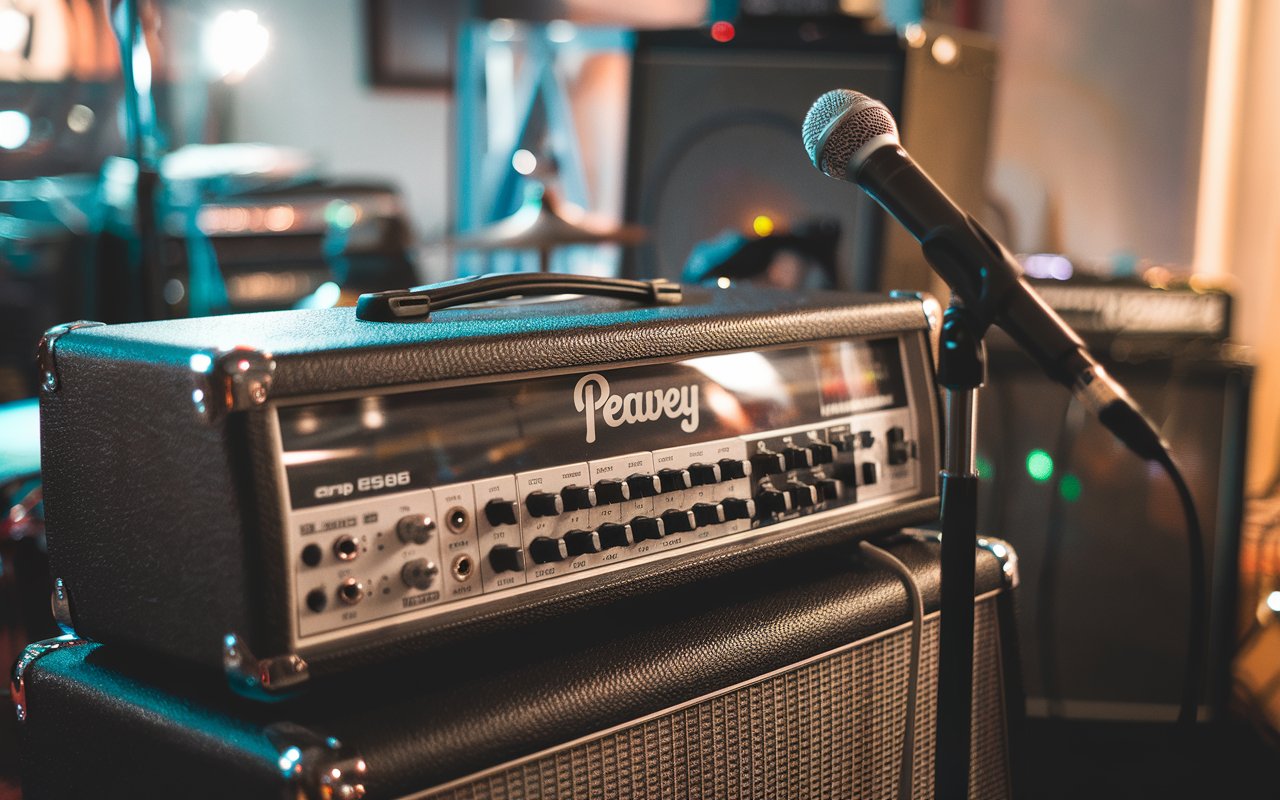
Replace Peavey Amp 6506 Front with Plexiglass – A Comprehensive Guide
Updating or customizing your Peavey Amp 6506 can be an exciting project, particularly when you replace its front panel with plexiglass. This modification not only enhances the visual appeal of your amplifier but also allows for personalized touches like color accents and LED lighting. In this guide, we will explore the process, benefits, and considerations involved in replacing the Peavey Amp 6506 front with plexiglass, providing insights and step-by-step instructions to help you achieve a unique and functional result.
Benefits of Replacing the Peavey Amp 6506 Front with Plexiglass
Enhanced Aesthetics
One of the primary benefits of replacing the front panel of your Peavey Amp 6506 with plexiglass is the aesthetic improvement. Plexiglass offers a sleek and modern look that can transform your amp from a standard piece of equipment into a visually striking centerpiece. With options for various colors and finishes, you can customize the appearance to match your style or stage setup.
Customization Options
Plexiglass panels can be easily customized with colors, patterns, or even integrated LED lighting. This allows for a high degree of personalization, making your amplifier stand out in a crowd. Whether you want a clear panel to showcase the internals of your amp or a colored panel to match your band’s theme, plexiglass provides numerous possibilities.
Durability and Protection
Plexiglass is a durable material that can offer protection to the internal components of your amplifier. It is resistant to impact and can prevent dust and debris from entering the amp, which helps maintain its performance and longevity. While it is not as robust as metal, it provides sufficient protection for most purposes.
Lightweight Design
Compared to traditional metal or wooden panels, plexiglass is significantly lighter. This reduction in weight can be particularly beneficial for musicians who need to transport their gear frequently. The lighter panel will not only reduce the overall weight of the amplifier but also make handling and setup easier.
Materials and Tools Required
Materials:
- Plexiglass sheet (sized to fit the Peavey Amp 6506 front panel)
- Screws or mounting hardware
- Double-sided tape or adhesive (optional)
- LED lighting kit (optional)
Tools:
- Measuring tape
- Jigsaw or acrylic cutter
- Drill
- Screwdriver
- Sandpaper or file
- Marker or pencil
Step-by-Step Guide to Replacing the Front Panel
1. Remove the Existing Front Panel
Start by carefully removing the existing front panel of your Peavey Amp 6506. This typically involves unscrewing it from the amplifier chassis. Make sure to keep the screws and any other small parts in a safe place, as you may need them later for reassembly.
2. Measure and Cut the Plexiglass
Using a measuring tape, take accurate measurements of the front panel area. Transfer these measurements to your plexiglass sheet. Use a jigsaw or acrylic cutter to cut the plexiglass to the required size. Ensure that the edges are smooth by sanding or filing them down.
3. Drill Mounting Holes
If your amplifier requires mounting holes for the new panel, carefully drill these into the plexiglass. Ensure that the holes align with the existing holes on the amplifier chassis. This step is crucial for ensuring that the new panel fits securely.
4. Install the Plexiglass Panel
Align the plexiglass panel with the amplifier chassis and secure it in place using screws or mounting hardware. If you prefer a less permanent solution, you can use double-sided tape or adhesive to attach the panel. For additional flair, consider installing an LED lighting kit behind the plexiglass to create a backlit effect.
5. Reassemble the Amplifier
Once the plexiglass panel is securely in place, reassemble any other parts of the amplifier that were removed during the process. Make sure that all screws and components are tightly secured and that there are no loose parts.
6. Test the Amplifier
After reassembly, test the amplifier to ensure that it is functioning correctly. Check for any issues with the new panel, such as vibrations or loose fittings. If you have installed LED lighting, verify that it operates as expected and provides the desired visual effect.
Maintenance and Care
Cleaning Plexiglass
Plexiglass is relatively easy to maintain. To clean the panel, use a soft cloth and a mild soap solution. Avoid abrasive cleaners or scrubbers, as these can scratch the surface. Regular cleaning will help maintain the clarity and appearance of the plexiglass.
Checking for Damage
Periodically inspect the plexiglass panel for any signs of damage or wear. If you notice any cracks or scratches, consider replacing the panel to ensure continued protection and aesthetics.
Customization Ideas
LED Lighting
Incorporating LED lighting behind the plexiglass panel can create a stunning visual effect. Choose from a range of colors and lighting modes to match your style or performance needs. LED strips are easy to install and can be powered by the amplifier’s existing power supply.
Color and Pattern Options
Plexiglass panels come in a variety of colors and patterns. Consider using tinted or frosted plexiglass for a unique look. You can also create custom patterns or designs using stickers or decals.
Engraving
For a truly personalized touch, consider having designs or logos engraved onto the plexiglass. This can be done using a laser engraver and adds a professional touch to your customized amplifier.
FAQs
1. Can I replace the front panel of my Peavey Amp 6506 with any type of plexiglass?
Yes, you can use various types of plexiglass, including clear, tinted, or frosted, depending on your aesthetic preferences and functional needs.
2. How do I ensure that the plexiglass panel fits correctly?
Measure the front panel area of your amplifier accurately and cut the plexiglass to these dimensions. Drill mounting holes carefully to align with the existing holes on the amplifier chassis.
3. Can I install LED lighting myself?
Yes, LED lighting kits are designed for easy installation and can be added to your plexiglass panel for a customized look. Follow the manufacturer’s instructions for installation.
4. Will replacing the front panel with plexiglass affect the sound quality of my amplifier?
No, replacing the front panel with plexiglass should not affect the sound quality of your amplifier as long as the panel is installed securely and does not obstruct any ventilation or components.
5. How do I clean the plexiglass panel?
Use a soft cloth and mild soap solution to clean the plexiglass. Avoid using abrasive cleaners or scrubbers, as these can scratch the surface.
6. Can I use double-sided tape instead of screws for installation?
Yes, double-sided tape can be used for a less permanent installation. However, screws or mounting hardware are recommended for a more secure fit.
7. What should I do if the plexiglass panel gets scratched?
If the panel gets scratched, you can use a plastic polish to reduce the visibility of the scratches. For deeper damage, consider replacing the panel.
8. Are there any safety concerns with using plexiglass?
Plexiglass is generally safe to use, but it should be handled carefully to avoid cuts or injury. Ensure that the panel is securely installed to prevent it from falling or becoming a hazard.
9. Can I use a colored plexiglass panel for my amplifier?
Yes, colored plexiglass panels are available and can be used to create a unique and customized look for your amplifier.
10. How often should I check the plexiglass panel for damage?
It’s a good idea to inspect the plexiglass panel periodically to ensure it is in good condition and to address any damage promptly to maintain the protection and aesthetics of your amplifier.
Conclusion
Replacing the front panel of your Peavey Amp 6506 with plexiglass offers a unique opportunity to enhance both the visual appeal and functionality of your amplifier. Plexiglass not only provides a sleek, modern look but also allows for customization with colors, patterns, and LED lighting. The process involves careful measurement, cutting, and installation, ensuring a secure and professional finish. Regular maintenance, such as cleaning and checking for damage, will keep the plexiglass panel looking its best. Overall, this upgrade adds a personal touch to your equipment and can improve its durability. With thoughtful customization, your amp can truly reflect your style and stand out in any performance setting.